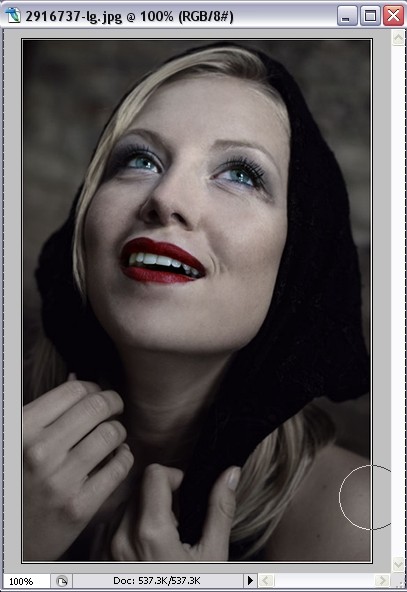
For a start, take a good quality photo, we used this one:
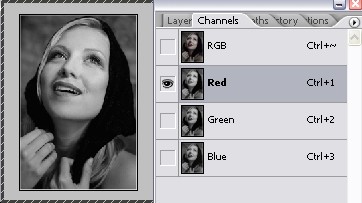
Go to Channels panel and select only the red channel, to make the photo more flat and colourless.
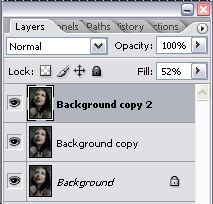
Duplicate this layer 2 times, so that you will have 3 layers in total, including the background.
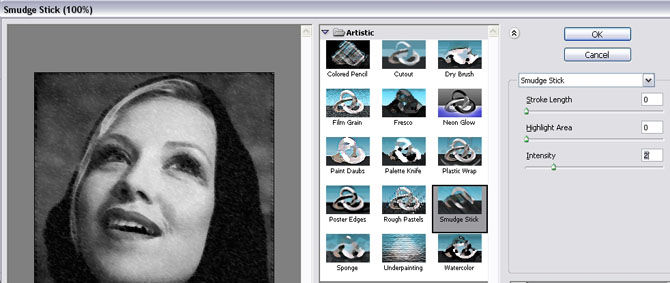
Take layer nr. 2 and go to Filter >> Artistic >> Smudge Stick, and apply these settings to give a photo more "painted" touch
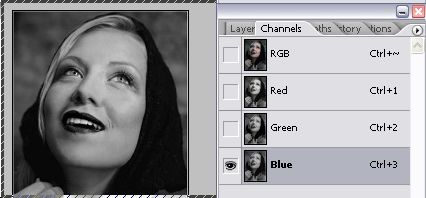
Take the remaining layer (nr. 3) and select only the blue channel
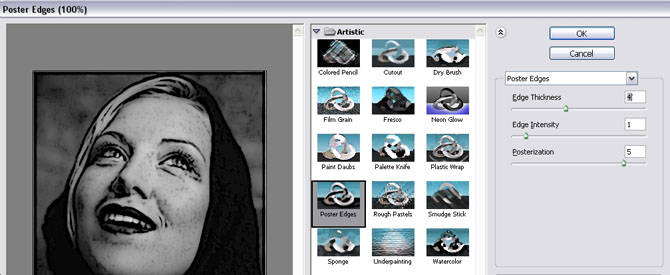
While third layer is still selected, go to Filter >> Artistic >> Poster Edges and apply these settings to give the canvas a more dramatic emphasis.
Reduce the fill opacity of both second and third layer to 50%-55%
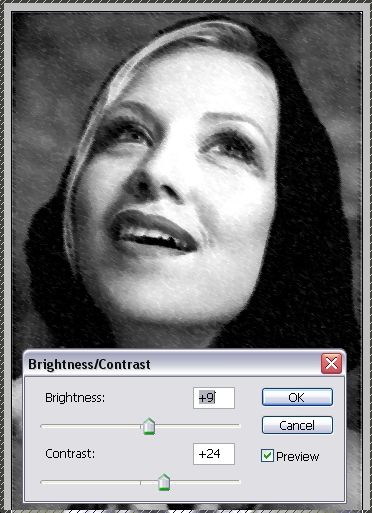
Select the second layer (the one where we applied smudge stick filter) and go to Image >> Adjustments >> Brightness / Contrast. Add brightness and contrast, as shown on the picture below.
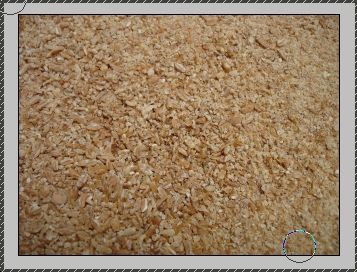
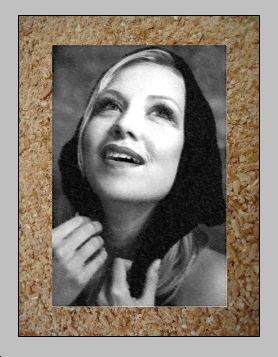
Now it's time to get a texture. You can download any photo from morguefile.com or any other free photo stocks, something brownish that would imitate a rough wall... anything of your taste, we used this one:
Flatten the picture with the woman.
press Ctrl + A to select the entire canvas. Ctrl + C to copy it and then, go to the texture canvas and press Ctrl + V to paste it over the texture.
Select the background (texture) and go to Image >> Adjustments >> Brightness / Contrast. Apply these settings to make the background's image shame less dominating, as we don't it too be so rough so that it will ruin our main photo.
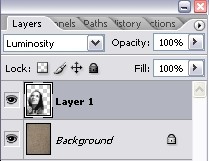
Select the woman photo layer, and set its blending mode to "luminosity"
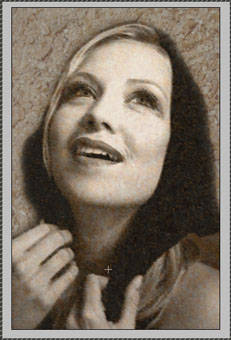
Using the eraser tool with soft edge, remove the sharp edges of the photo, so that this texture will also become the pics background.
Flatten the image.
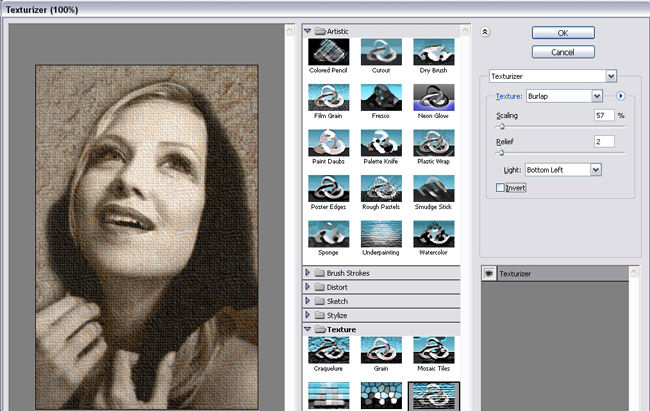
Now, in order to actually turn it into an old canvas, go to Filter >> Textures >> Texturizer and apply these settings...
This will already make your photo look like an old painting, but we want to go farther and turn it in a Renaissance style picture. Whoever studied art knows, that at that time, most of the paintings had a spot-light directed to the face, while most of the other painting's area was in the shade.
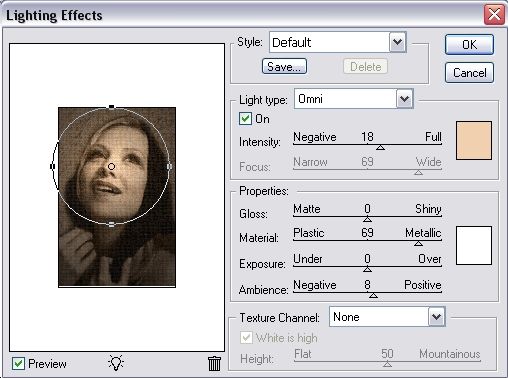
So... Go to Filter >> Render >> Lightening Effect, select a very mild orange hue, we used #f1d0af here, and apply an "omni" spot light over the person's face.
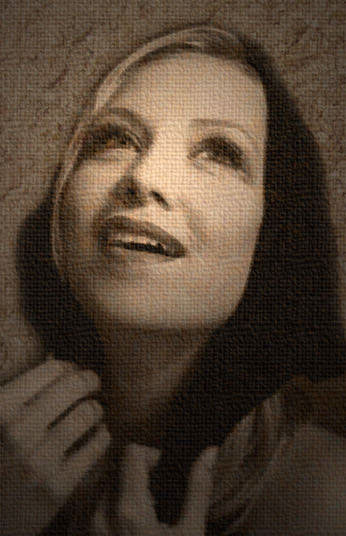
This is it, look what an incredibly genuine old canvas we got!
Wednesday, November 3, 2010
Turn Your Photo Into a Renaissance Style Old Canvas | Photo Editing
via webdesign.org
Subscribe to:
Post Comments (Atom)

No comments:
Post a Comment