You will need to the following stocks for this tutorial:
Step 1
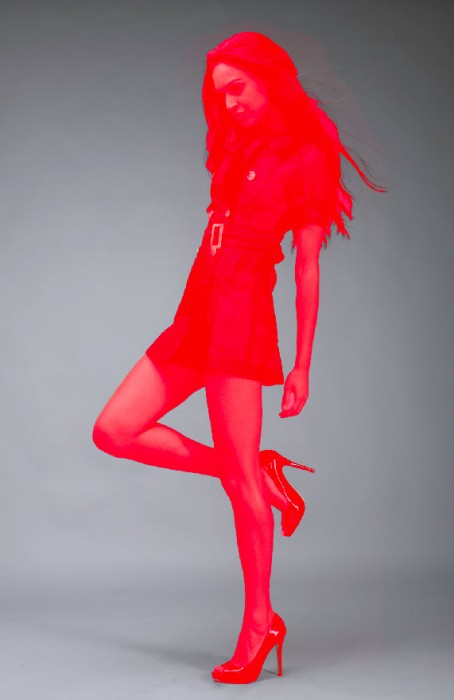
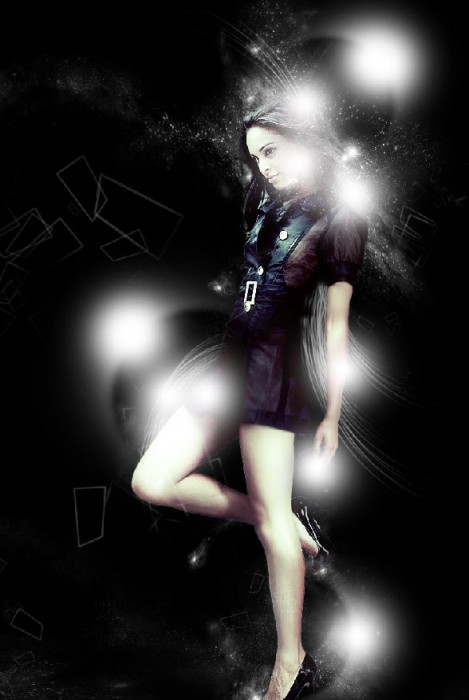
Create a new document sized 950px * 1250px, fill the background with black colour. Load the model image into Photoshop and extract the model out: (for more details the method I use to extract the model, check out this tutorial)
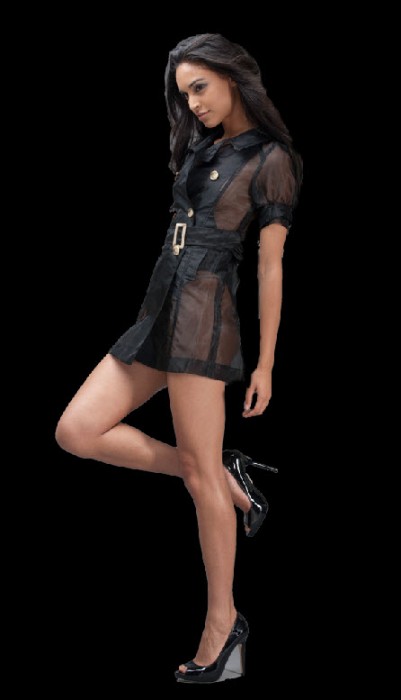
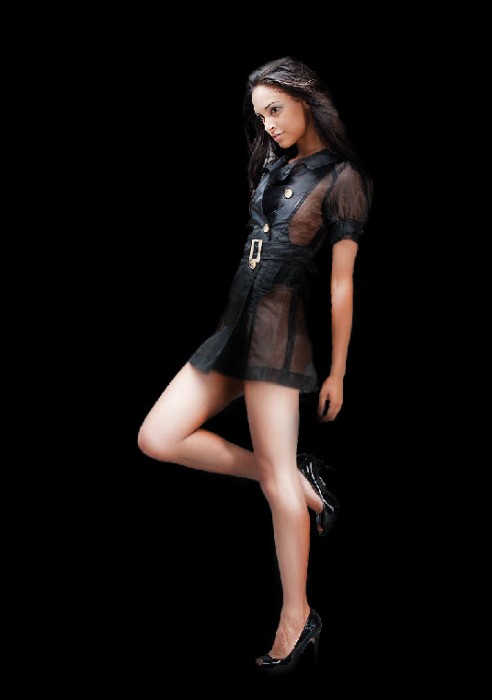
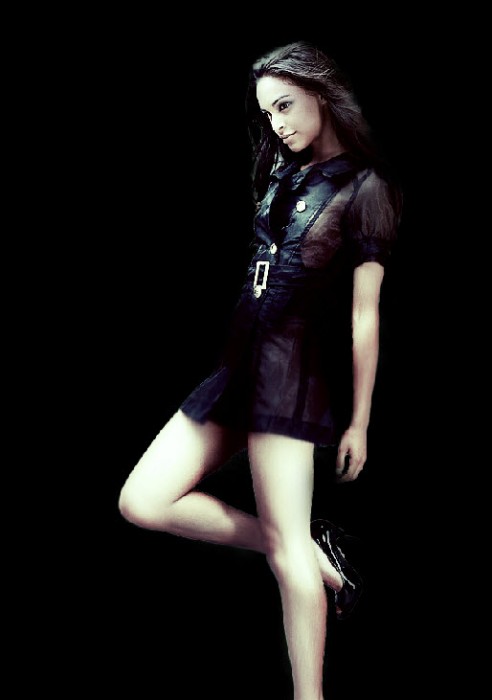
Resize and paste it on our canvas - don't worry if you miss a few hair, this is not important for this tutorial (we're not designing a megazine cover):
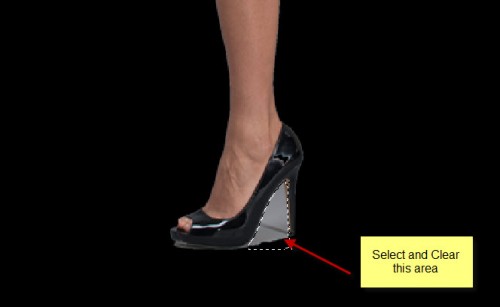
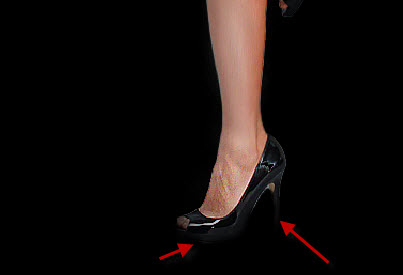
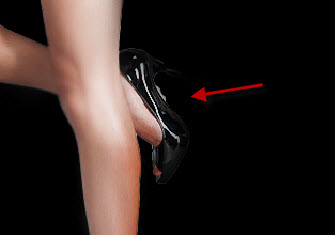
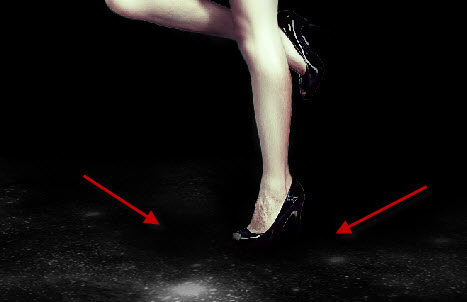
Tidy up the image and get rid of the unwanted part under the heel as shown below:
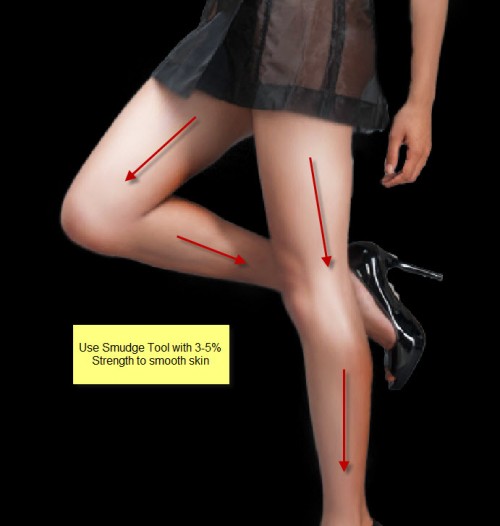
Use the Smudge Tool with 3-5% strength to smooth the leg skin a bit:
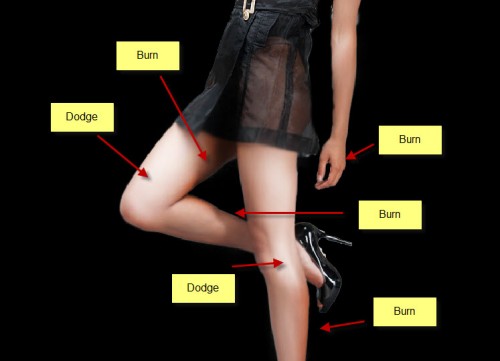
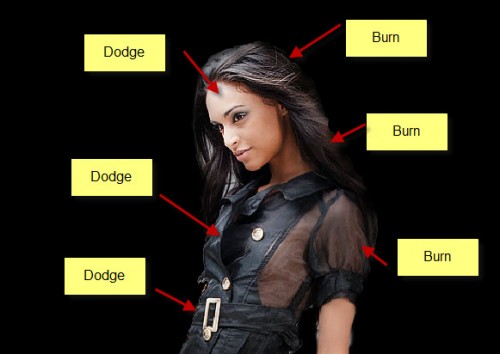
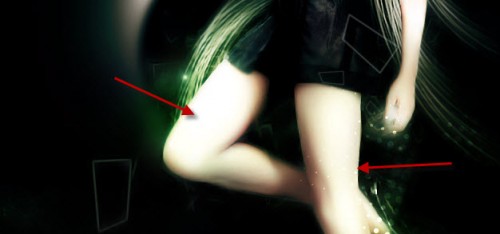
Now use the Dodge and Burn Tool (set strength to around 10-15% for both), apply to the areas shown below: (the overall contrast of the original image is good, so this step can be optional)
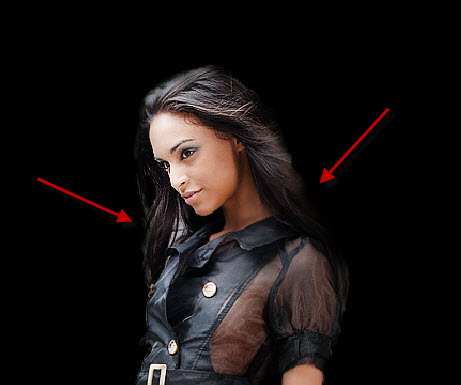
Also tidy up and erase the edge with a soft eraser so the image blends into the background:
Here is the effect so far:
Step 2
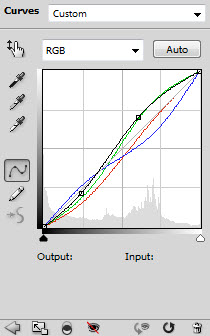
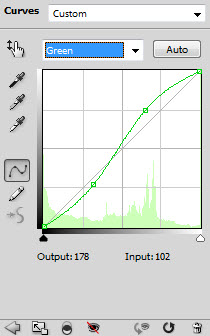
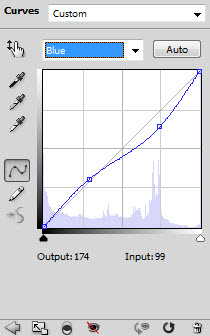
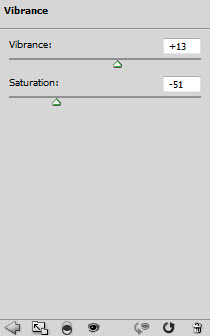
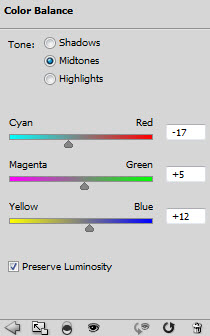
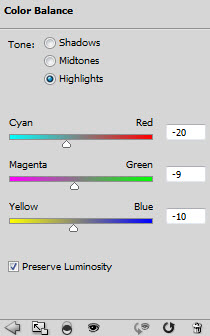
Let's adjust the model further. Add the following 3 adjustment layers to the model layer as clipping mask:
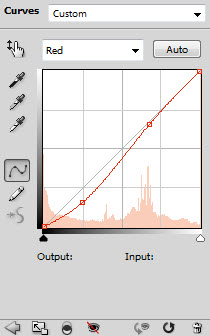
Curves
Vibrance
Colour Balance
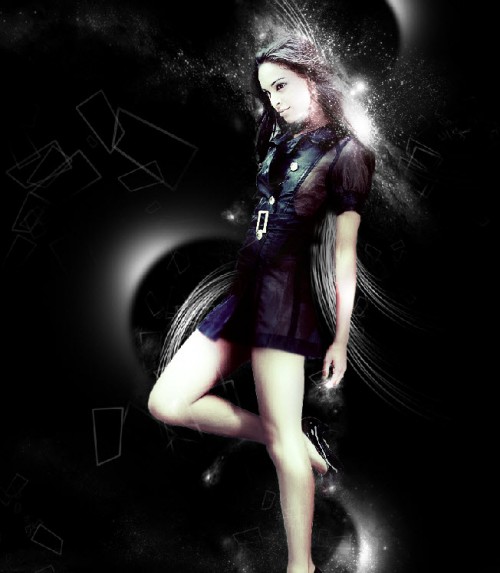
and here is the effect so far:
Step 3
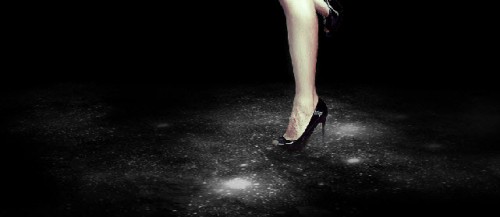
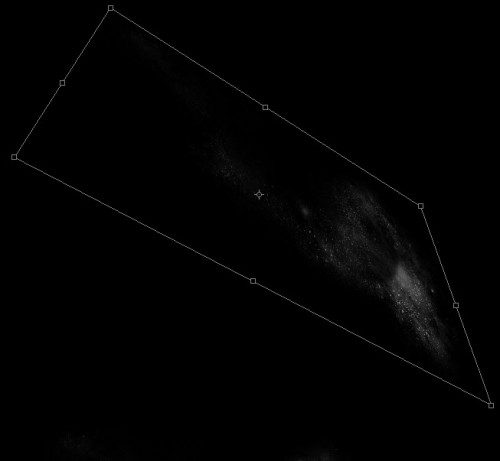
Now load the star brushsets into PS. Create a new layer just above the background layer, paint some star pattern on the bottom of the canvas, use the free transfrom to adjust its shape if necessary:
Paint some shadow for the model on the star floor:
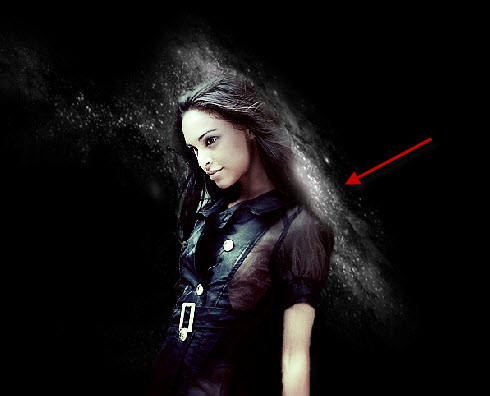
Now if you combine the free transform tool and the star brush together, you can create some interesting effect as shown below:
Attach it to the model as shown below: (duplicate the layer once for brighter effect)
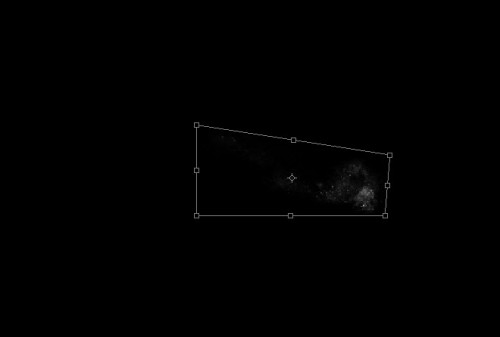
We can also distort and reduce the size of the star brush layer, and apply the smaller star pattern around canvas to create some micro effect:
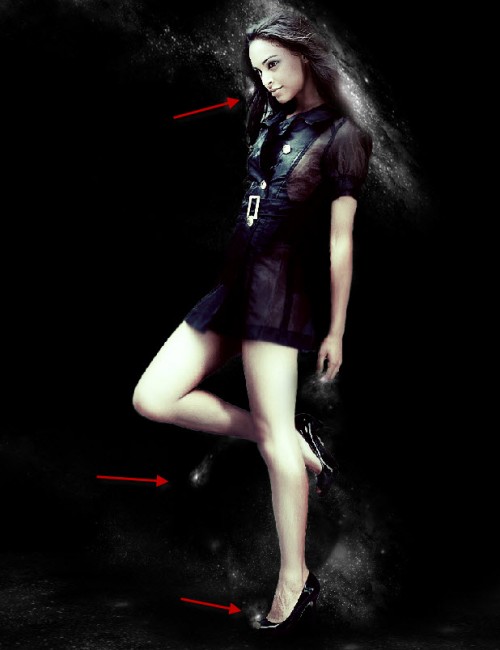
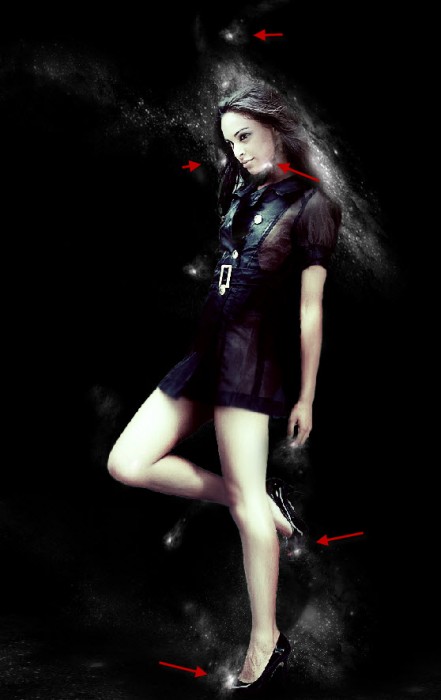
Decorate those smaller Star Pattern around the canvas: (behind and in front of the model)
Step 4
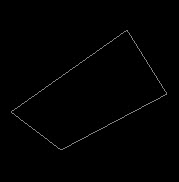
Now let's create an abstract shaped brush to add some random pattern to our image. To do this, create a new document sized 200px * 200px and fill the background layer with black. Draw a work path as shown below:
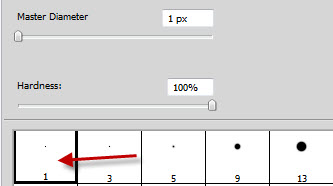
Stroke this path with a 1px hard brush:
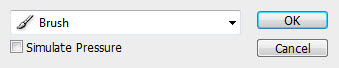
DO NOT tick the "Simulate Pressure" setting in this case:
Ctrl + left-click on the thumbnail image of this path layer, go to Edit > Define Brushset and create a new brushset"
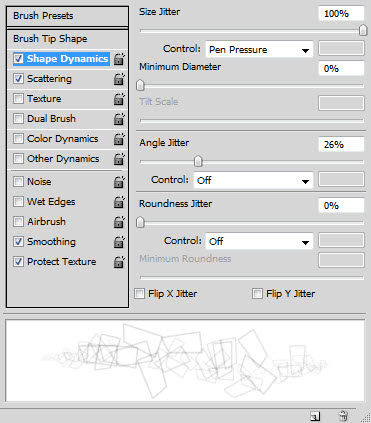
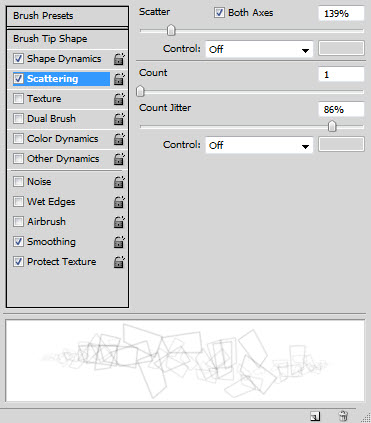
Press F5 and bring up the brush window, apply the following settings to this brush we just made:
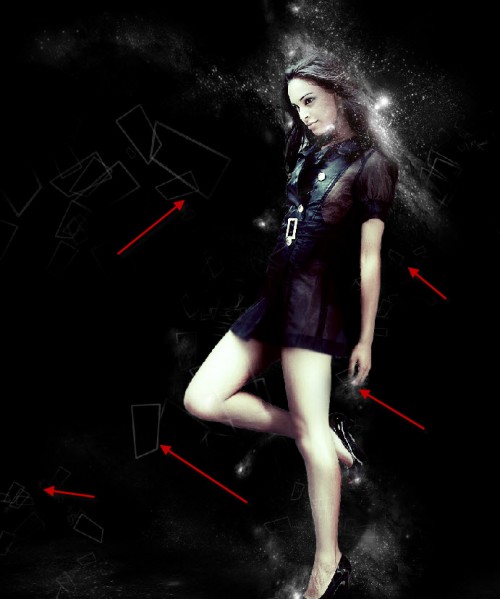
Now paint some randam pattern around girl with this dynamic brush: (Quick Tip: as you paint, use a soft eraser tool to erase some portion of the pattern to create depth)
Step 5
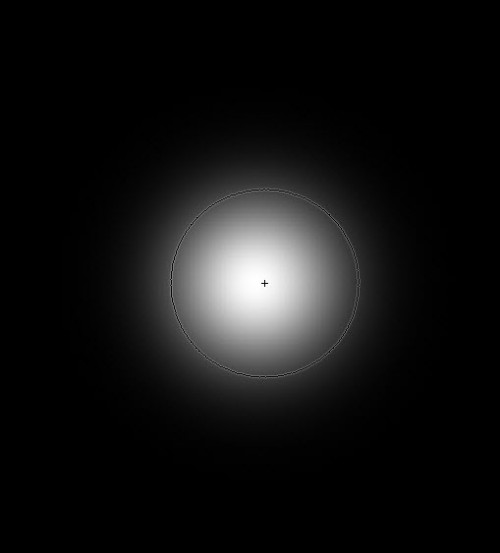
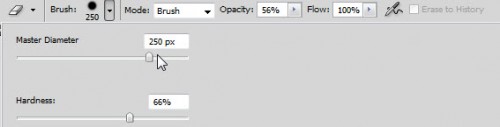
Now let's create a quick eclipse effect. Create a new layer called "Eclipse" and use a soft white brush to do a single click:
Then grab the eraser tool, reduce the brush size a bit comparing with the white dot we drew, then incrase the brush hardness to around 70%, and reduce the brush opacity to around 60%:
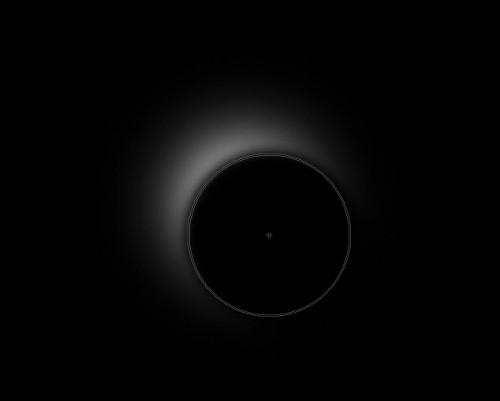
In the position shown below, do two left clicks to produce the eclipse effect:
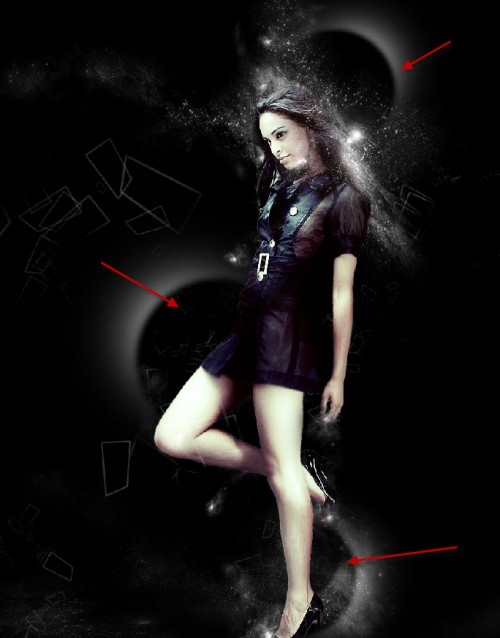
Duplicate this eclipse layer a few times, rotate and postions as shown below:
Step 6
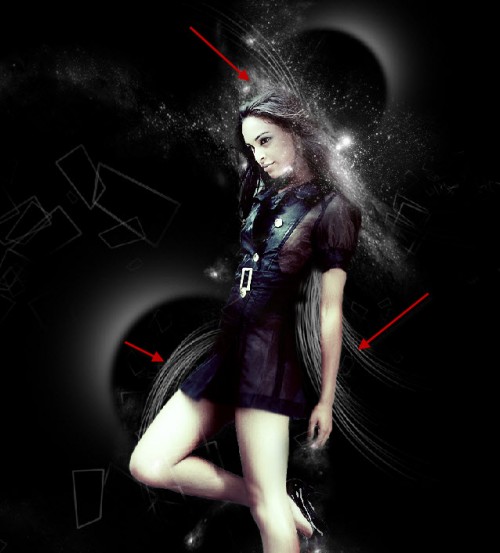
Now we can add some abstract hair line to the image as shown below: (For detailed tutorials about how to create those hair lines, please refer to this tutorial)
Add a new layer called "focal points" on top of all previous layers, grab a soft white brush do a few clicks on it:
Change the blending mode of this layer to "overlay", here is the effect:
Now you can use the colour balance adjustment layer to add some custom colour scheme to the image. I won't limit your imagination with my own settings, go wild with colours :)
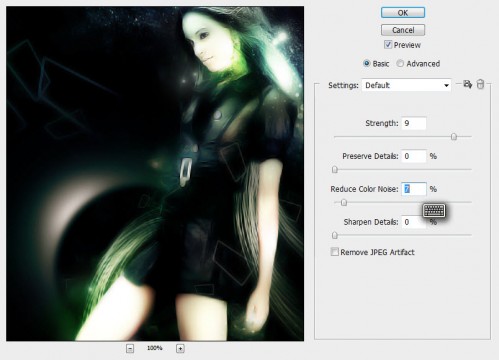
After you're done with the colours, flatten the image, duplicate the background layer, then apply the following Reduce Noise settings:
As you can see, the image now become a lot smoother, plus we get this glowing, painting style effect: (As shown below)
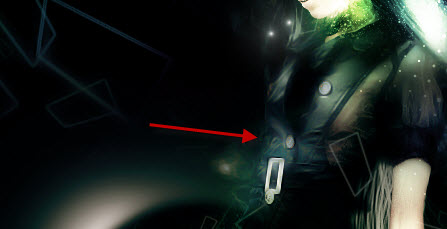
The Clothes now shine on the image:
The legs now look smoothers, glowing:
Of course you don't want to the whole image to be glowing, so use the layer mask to hide the portions you don't want glowing effect.
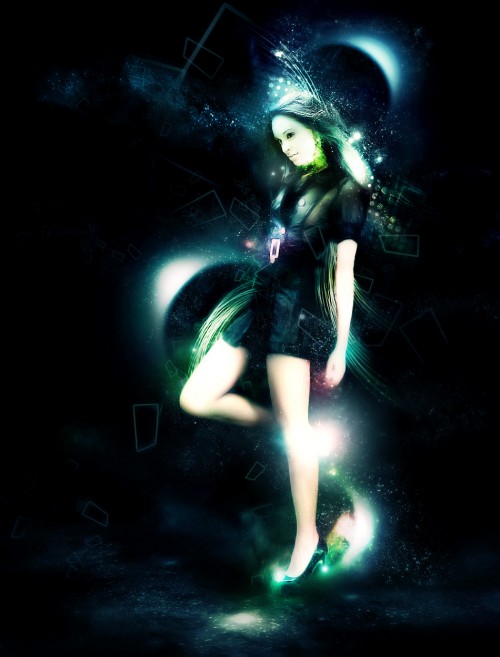
Lastly, we can also paint some more star around the eclipse planet to spice up the image even further:
and here is the final effect for this tutorial: (click to enlarge)
That's it! Hope you enjoy this tutorial and find it useful :)
Wednesday, November 3, 2010
The Creation of Immerse in Universe Abstract Artwork in Photoshop | Special Effects


via webdesign.org
Subscribe to:
Post Comments (Atom)
No comments:
Post a Comment