1 TYPE THE TEXT
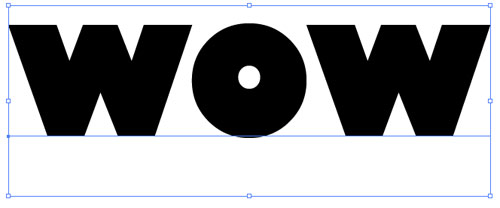
To begin this text effect, we must start with the most critical element the text. Select the Type tool (T) in the Toolbox and click in the artboard to set a text object. Enter whatever text you like. We entered "WOW" in all caps using the font Gill Sans Ultra Bold. Once entered, scale the text as necessary.
2 DUPLICATE; CONVERT TO OUTLINES
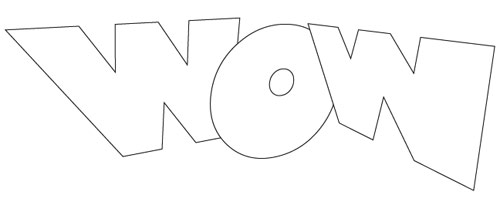
Just in case you want to go back and change the text later, drag the type layer in the Layers panel to the Create New Layer icon to duplicate the text object. Click the Eye icon next to the original text layer to hide it. Select the duplicated text with the Selection tool (V) and convert it to outlines by going under the Type menu and choosing Create Outlines. For the sake of visibility, set the Fill to white and the Stroke to black.
3 FREE TRANSFORM THE LETTERS
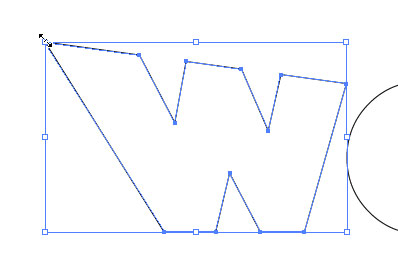
Now we need to distort the individual letters. For this we'll use the Free Transform tool, which can be a bit tricky. First, make sure all of the letters are ungrouped (Object>Ungroup) and select the first letter with the Selection tool. Switch to the Free Transform tool (E), and click-and-hold on the top-left corner of the transform box. Press-and-hold the Command key (PC: Ctrl key) and drag the corner to manipulate the shape of the letter. The Free Transform tool takes a little practice if you've never used it. Continue to do this to the remaining letters, varying the distortion and position of each.
4 DUPLICATE; SET FILL & STROKE TO BLACK
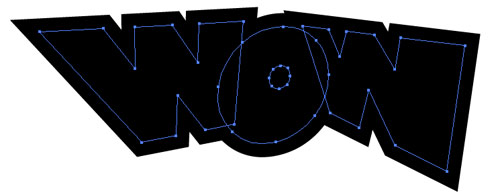
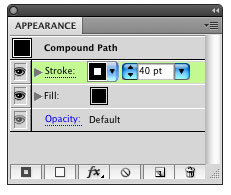
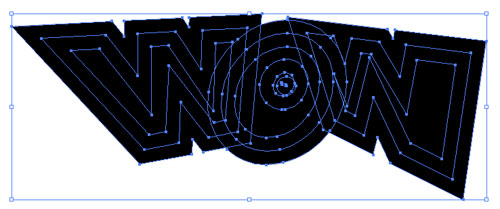
Select all the distorted letters and create a duplicate of these letters just as we did earlier. Move the duplicate off to the side of the artboard for now and reselect the original transformed text. In Illustrator CS4, open the Appearance panel (under the Window menu) and set both the Fill and Stroke to black using the drop-down menu for each property. Also set the Stroke weight to 40 pt. (In CS3, set the Fill and Stroke colors and the Stroke weight in the Control panel.)
5 OUTLINE STROKE
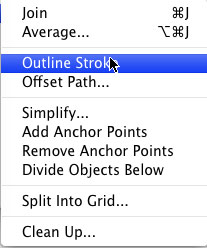
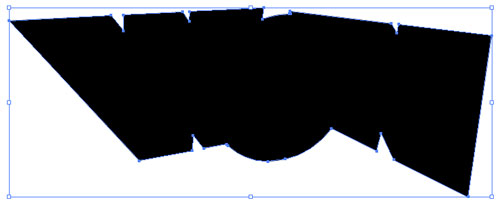
With these objects still selected, go into the Object menu to Path and choose Outline Stroke. This will expand the shape area out to the stroked area, making it a regular shape.
6 UNITE SHAPES
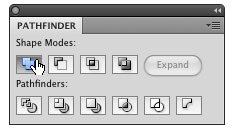
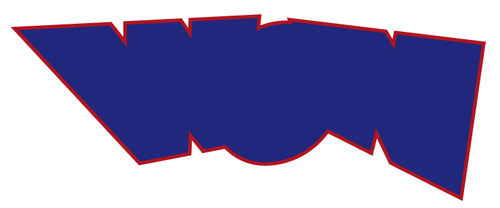
Open the Pathfinder panel from the Window menu. Click the Unite icon, which is the first icon under Shape Modes. (In Illustrator CS3, the Unite icon is called the Add to Shape Area icon, and after you click the icon, you also need to click the Expand button.) This will combine all the expanded shapes into one single shape. This shape will act as our outer border effect. (Note: If you see any stray points inside the shape, use the Ellipse tool to draw a shape over the points, select everything, and click the Unite icon again.)
7 CHANGE FILL & STROKE; THICKEN STROKE
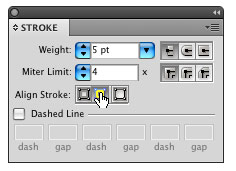
Now we need to change the color of this shape. Open the Swatches panel and set the Fill color to blue and the Stroke color to red. Open the Stroke panel from the Window menu. Set the Stroke weight relatively thick, depending on the size of your art we used 5 pt in this example. Click the center icon next to Align Stroke to put the stroke on the inside of the shape.
8 POSITION DUPLICATE; CHANGE FILL & STROKE
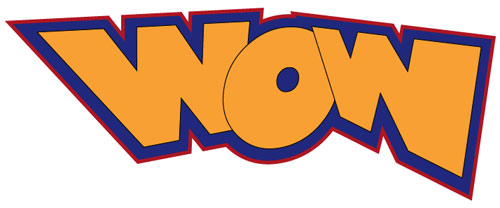
Now go and get the duplicated text that we distorted earlier and position it on top of the border shape. Change the Fill color to an orange and the Stroke to black. Don't make the stroke too big; make it just enough to define the shape so the two shapes don't appear to be combined (1 pt in this example).
9 APPLY DROP SHADOW TO LAST LETTER
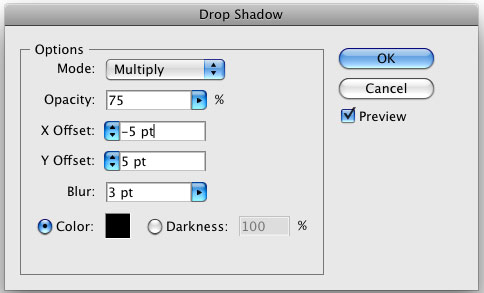
Select just the last letter. Go under the Effect menu to Stylize (under the Illustrator Effects listing) and choose Drop Shadow. Enter -5 pt in the X Offset so the shadow appears more to the left. Enter 5 pt for the Y Offset and enter a 3 pt Blur. (Note: These numbers will vary depending on the size of your art.) Click OK.
10 APPLY DROP SHADOW TO OTHER LETTERS
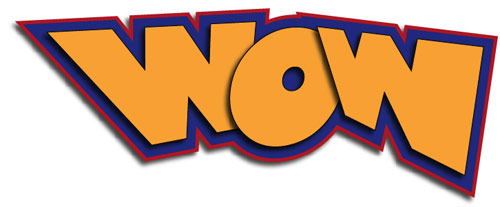
Select each of the other letters individually and apply the same effect by choosing Apply Drop Shadow under the Effect menu. Apply it to the border shape behind the letters, as well.
11 DRAW HIGHLIGHTS
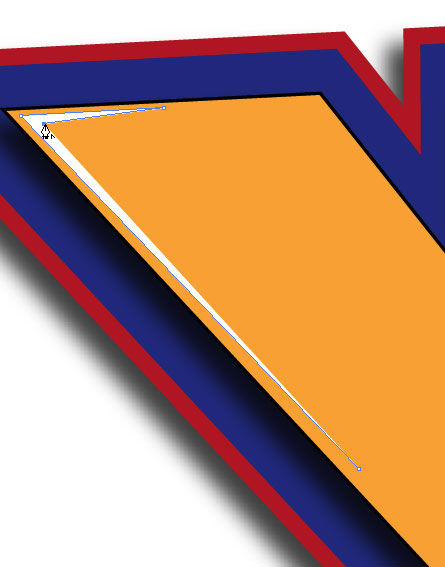
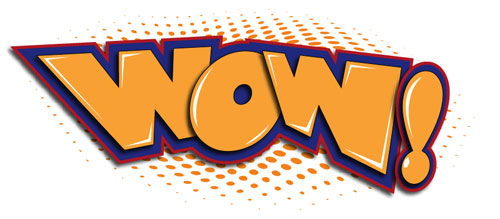
Now we're going to apply some subtle highlights. Grab the Pen tool from the Toolbox. Set the Fill color to white and the Stroke color to none. Then at various corners of the letters, draw some very small corner shapes to give the letters a little more interest. Continue this on all the letters but don't get carried away it's easy to overwork something until it doesn't look cool anymore. That pretty much does it. You can see the possibilities here and the many different directions you can go with this. Have fun!
Wednesday, November 3, 2010
Create Fun, Eye-catching Text | Adobe Illustrator
via webdesign.org
Subscribe to:
Post Comments (Atom)

No comments:
Post a Comment